Well�it�s time to show you the before and after pictures of our deck clean up! As you know, I like to show you the good and the bad around here. And this one was BAD.
After reading this, you will either be highly motivated�or just highly sleepy. ;)
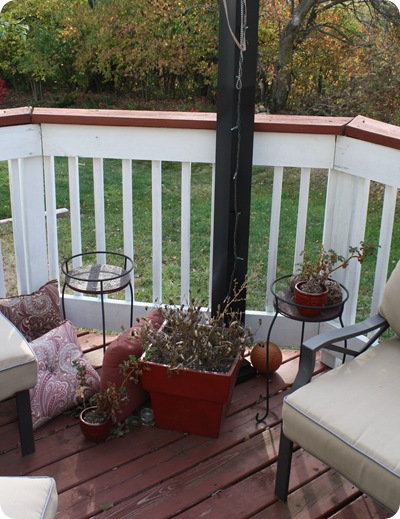
I showed you how we upgraded our deck just a bit last year by adding some new furniture and a faux pergola to the seating area. We LOVED it:

I get a lot of questions about that pergola -- we got it from Menards. I especially love that it opens and closes � so during the day it keeps temps much cooler underneath, and at night we can open it up to see the stars.
But this summer the deck kind of went downhill�fast. It was so stinkin� H.O.T., we were just never outside. Our backyard gets full sun and it can get unbearable, even under the pergola.
I�m not what you would call an outdoors kind of girl anyway, so when you add the potential for sweat to that�well, I�m just not going outside. :)
Anyhoo, it kind of fell apart. So now I present to you�our crapified deck�
First up, our hot tub. We had this installed when we built the deck, and put it right by the back door. This is good for soaks in the winter, (proximity to the door), but not so good for as far as the beauty factor. It�s hard to make a hot tub pretty. :)
We hadn�t replaced the hot tub cover in five years, so it was disgusting. I mean�EWW. And, it was FULL of water � it took two people to lift one side of it because it was just soaked:
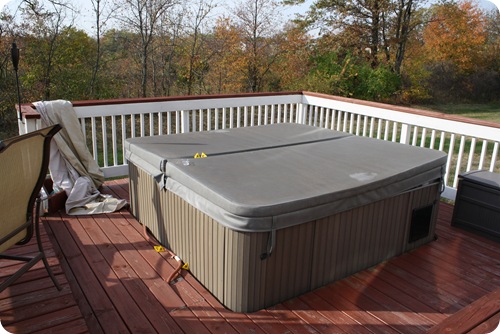
Let�s take a closer look, shall we?
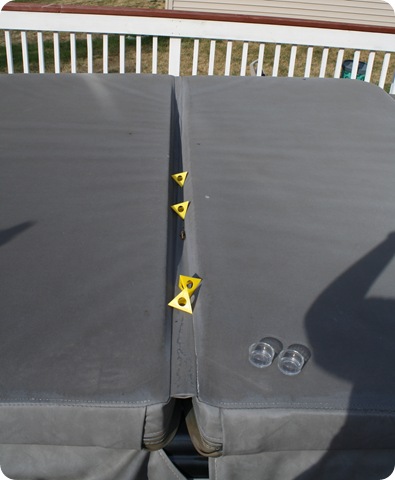
Those little yellow things are great for propping up paint projects. And they had been out there since I painted our island doors seven weeks ago. I had pretty much just given up. :)
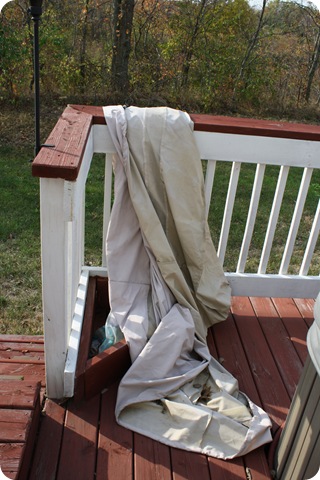
The table cover had been draped ever so beautifully over the railing since ohhhhh�.May?:
And the hose had been connected to the hot tub and spread out all over since the last time we drained it in ohhhhh�.March?:
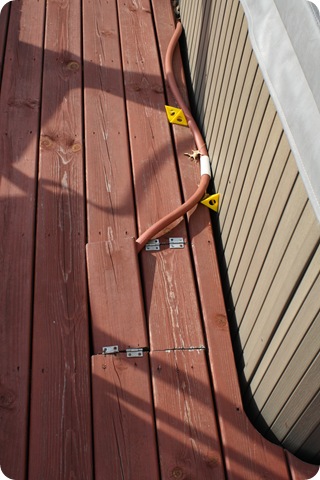
Told you � pure AWESOMENESS!!!
:)
Earlier in the summer, we woke to a huge mess � the middle section of our glass table was in itty bitty teeny tiny pieces all over the deck:
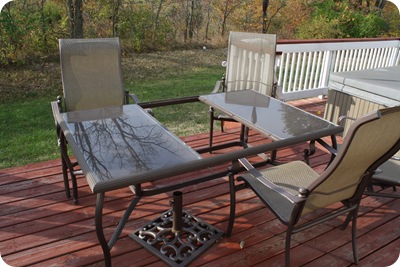
We had planned on replacing the whole set, but the little Dave Ramsey voice in our heads told us to wait.
So wait we did�and we had a busted table on the deck all summer. :)
I especially love the next two areas --
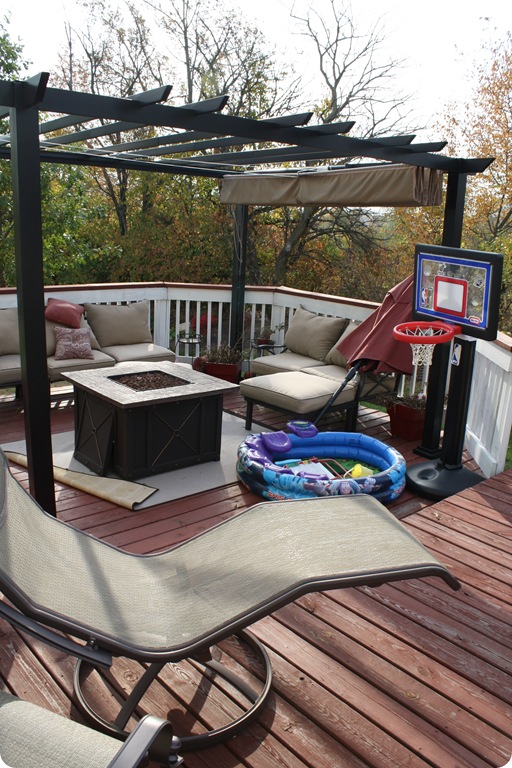 HOT. MESS.
Do you hear the Sanford and Son melody playing yet?:
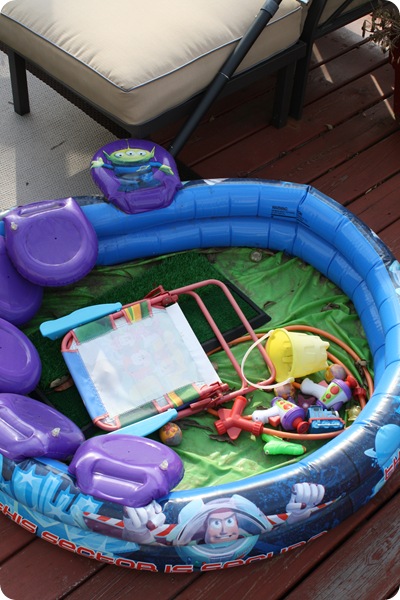
No? Do ya now?:
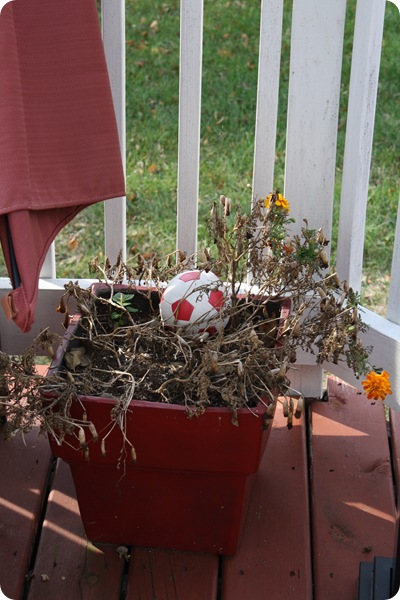
Maybe now:
 I told you our neighbors were really proud.
But it gets even better!
Remember the DIY window boxes I showed you last year?:
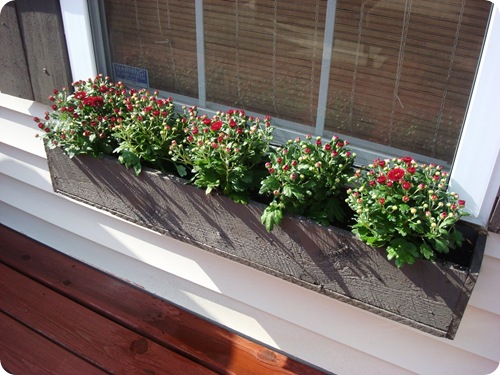 Awww�look how cute they looked! Adorable huh?
Well. Huh. About late winter, they started looking a little rough. By spring they started splitting a bit. Just a tad.
By summer, they were full out disaster:
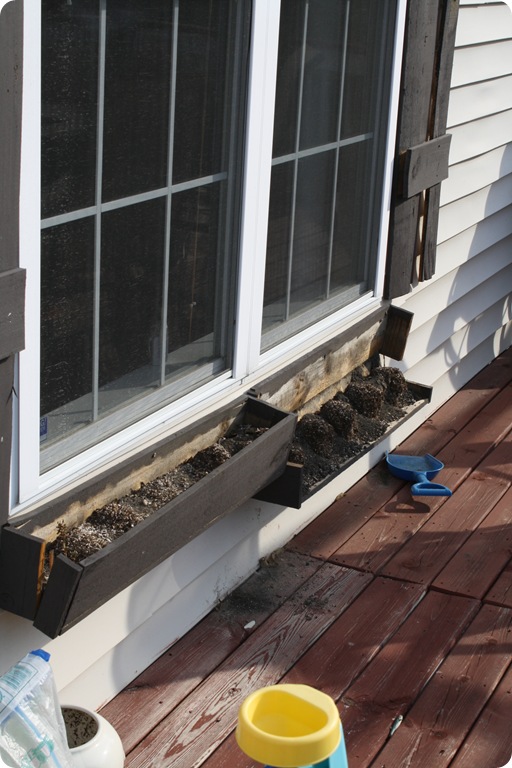 The shutter wasn�t lookin� so hot either.
Because it was as hot as the surface of the sun out there all summer, I left them�hanging. :)
Oh, and all three boxes fell apart. As you can see in this picture with the �new� outdoor rug from Home Depot that we left rolled up all summer:
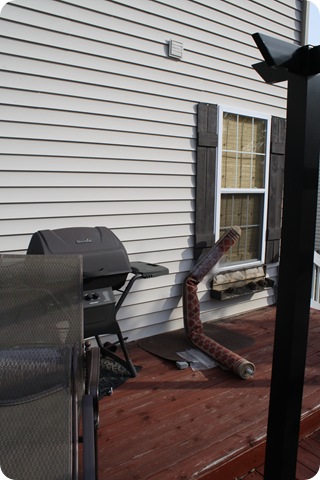
Neighbors = loved us.
As I mentioned a few weeks ago, I used the help of my sis to clean up some of the out of control spots in our house, and this certainly fell under the �out of control� category.
It took us a few days to finish everything up, but it wasn�t hard. We just got rid of almost everything. ;)
The first day, we took about five trips to Goodwill, loading up the table, chairs and matching lounge. The whole set was in bad shape � missing glass, paint chipping off the chairs. And I had already repainted them all once a couple of years ago.
We decided since we�ll be DEBT FREE next summer, we�ll save up for a new set. YES.
Sis and I also took a trip out to the hot tub place to get a new cover:
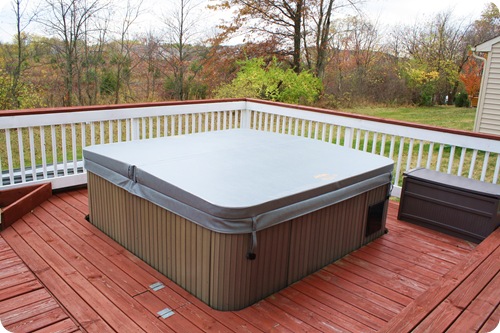
Oh my goodness � SO much better! You cannot tell how bad the old one was in the pictures, but it was so nasty!
The table cover draped over the railing was FULL of wasps nests. We used a whole can of wasp spray while out there that day because they were everywhere. Because we weren�t keeping the table anyway, the cover was gone too!
After we built the deck years ago, we realized we never created access to the hot tub drain. We had a friend come out and cut the boards so we could access it:
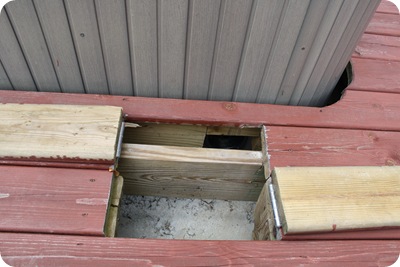
Because I had installed hinges that were way too small and were not meant to be outdoors, they were falling apart and it had become a major safety issue.
True Value to the rescue! I picked out some heavy duty hinges that will hold up to the elements:
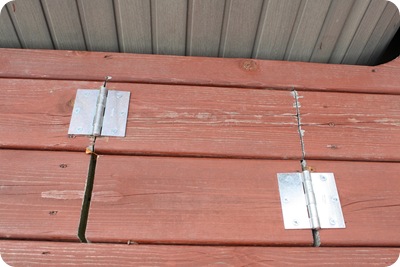
I know they�re not pretty, but they are necessary. Function over form and all that.
And oh yeah�this was my selection of hinges and screws at my True Value:
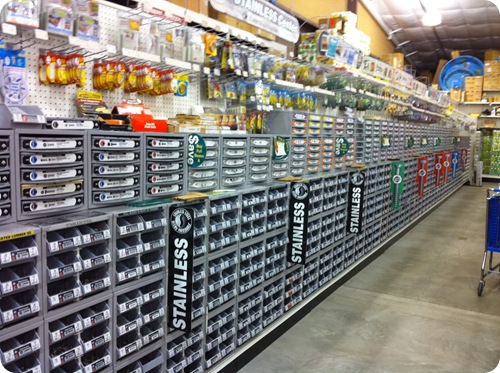
Fantastic!! I am like a kid in a candy store in this place! :)
My favorite part of the small town feel of this True Value is that you can buy individual screws � just as many as you need. They bag them up in the little paper bag � love it!! If you ever went to the hardware store with your Dad when you were little like me, this place would SO bring you back. ;)
Next, I took the beautiful window boxes down, and braced myself for the holes in the siding. UGH.
I do plan on installing new boxes at some point, but in the meantime I didn�t want the holes to be open to the weather, so I picked up some of this fun stuff as well:

I just sprayed it in the holes. A few things to watch for with this stuff � it GROWS. I know, DUH. But it grows a lot. You need very little. And it dries way darker than it looks. And finally -- it�s a one time use can, which I didn�t realize. It seals itself up pretty fast, so know exactly what you want to use it on before you start!
It did the job, but it made a mess! Some elbow grease and a razor takes it off, but I�ll finish that up in the spring:
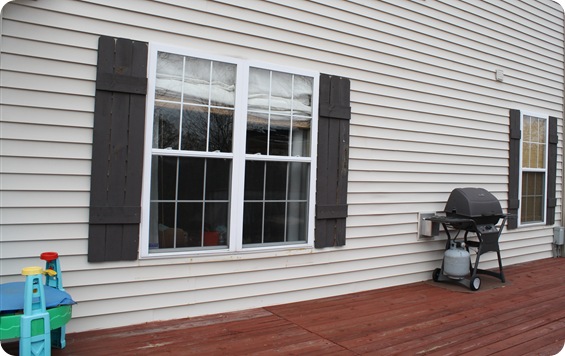 I gotta have something to do out there next spring, right? ;)
I cleaned up the pergola area, tossed the dead flowers and packed away some of the items in the garage for the winter. We�ll put all of the furniture away in the next month or so.
I finally laid out the new outdoor rug � and after being rolled up in the sun for five months, it was bleached by the sun on just the edge:
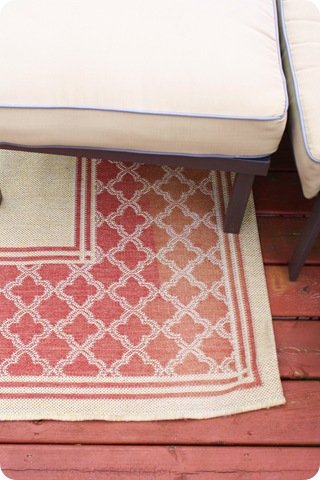
I can�t let go of the Sanford and Son look completely. ;)
We had lighting installed on our deck steps years ago, and the bulbs have been burnt out for probably eight months now:
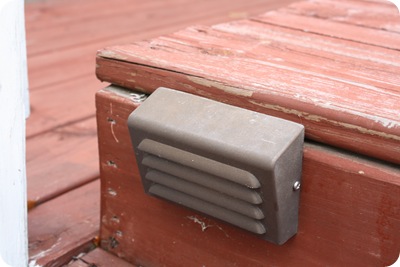
Each one only takes one bulb, so I picked up a few packs of the little halogen bulbs from True Value as well:
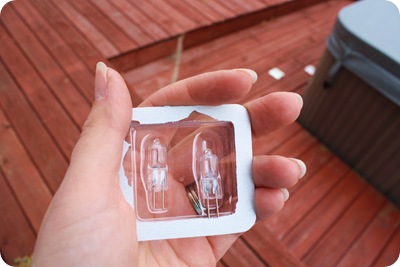
You want to make sure not to touch these with your fingers or hands when you install them � the oils from your hands cause them to burn out faster. I always use a paper towel or tissue to plug them in.
Now the deck is so empty�but I actually like it for now!: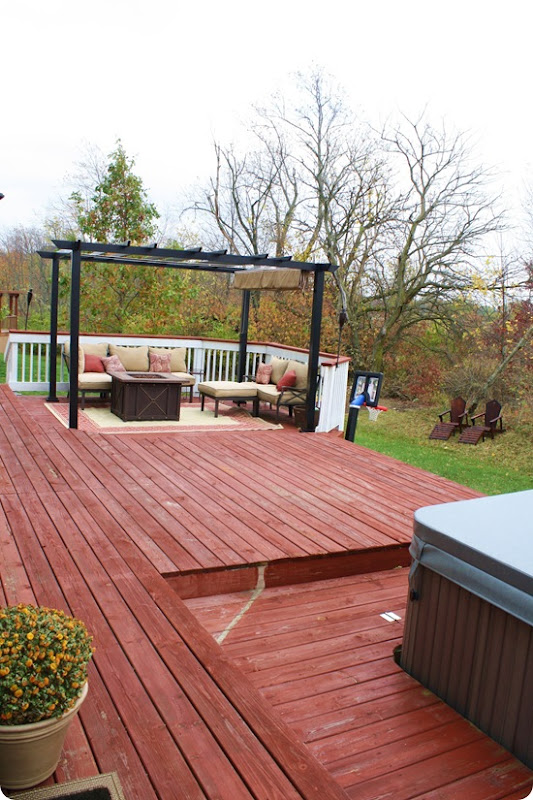
It�s a breath of fresh air. I know by spring I�ll be itching to put a table and chairs back out, but it feels SO GOOD to have it decrapified!!
I feel like I�m ready to hibernate for the winter. ;)
There are still a few things we need to address though � one is the stain:
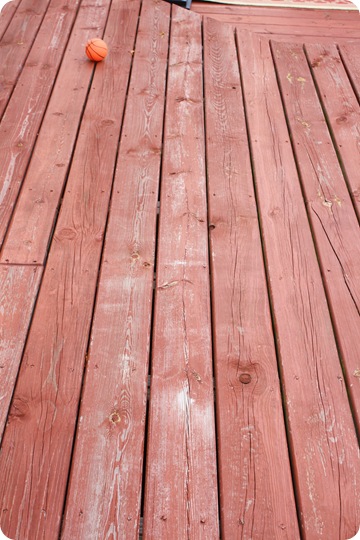
When you use treated wood � WAIT to stain it, for at least a few months. Our construction guy told us six months�after we stained it.
That was a great day. :)
If you do it too soon, it won�t stick. It is such a mess, and we�ve done it twice now. Next spring, we plan to use a power sprayer to really get the old stuff off, then do a couple of coats of stain again.
We still have to get the nasty old hot tub cover hauled to the dump:
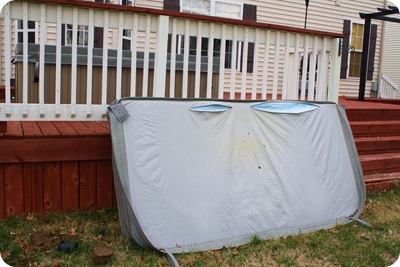 Sis and I had to cut slits to get the water out of it! It was SO CRAZY HEAVY.
And the basketball goal has been moved down to the lawn:
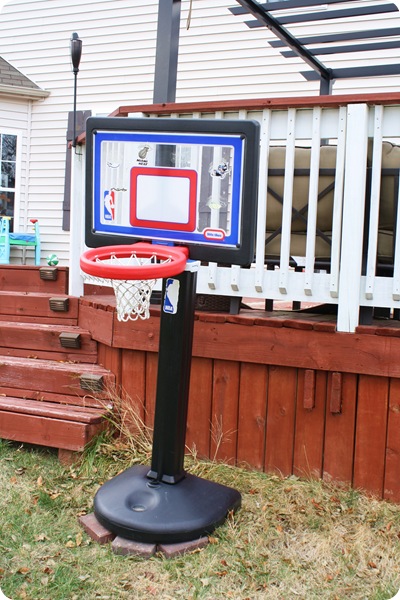 Complete with random landscaping bricks to make it steady. Steady on the dead grass. Dead grass from the blazing hot summer.
Awwww yeah�.we still got some bah ba ba duh, bah ba ba ba ba ba dum in us baby! I know, you are so jealous of our awesomeness!
And now that song is in your head �buwahahaha!!
So that�s project one of the three we tackled � the garage is pretty much done and our closet was done, then it wasn�t, then it was, now it isn�t again.
I cannot keep it clean to save my life.
But I will show you! :)
*I was one of the bloggers selected by True Value to work on the DIY Squad. I have been compensated for my time commitment to the program as well as my writing about my experience. I have also been compensated for the materials needed for my DIY project. However, my opinions are entirely my own and I have not been paid to publish positive comments.*


